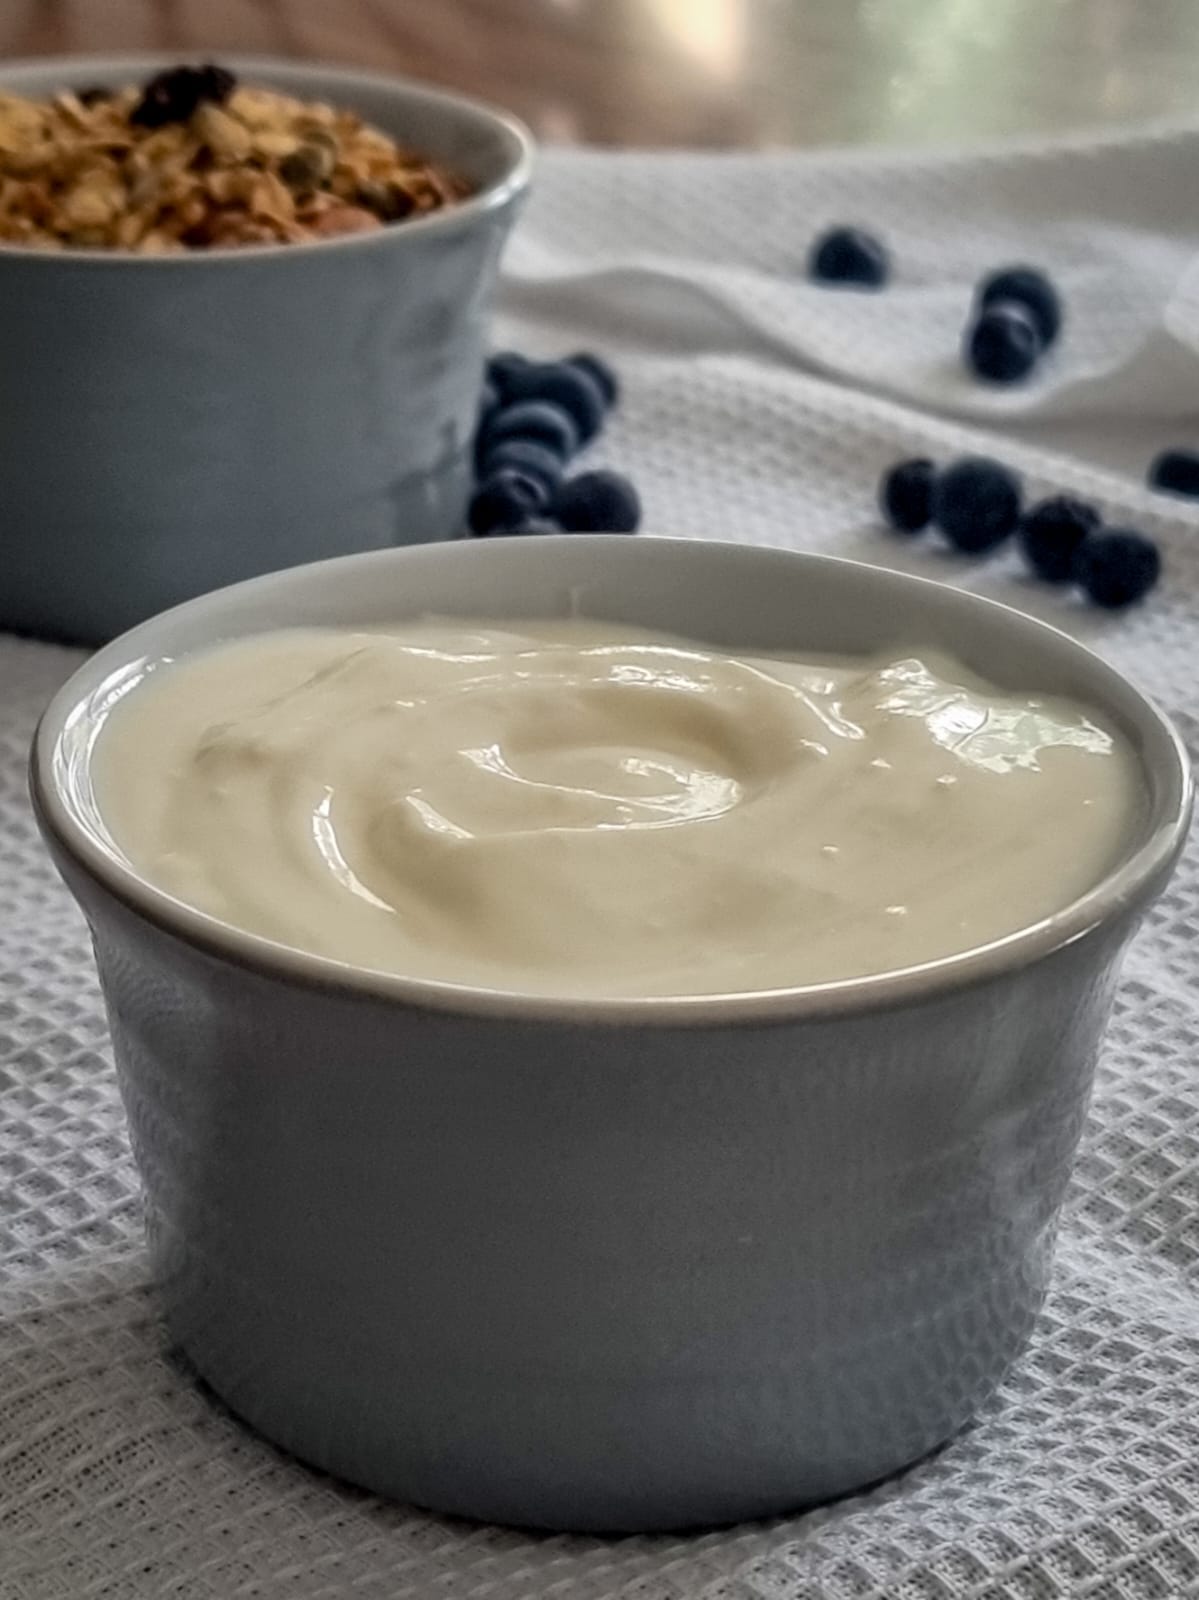
If you’re looking for a fail-proof way to make yogurt at home, you’re in the right place! Today, we’ll explore how to make creamy, delicious yogurt using an Instant Pot, ensuring perfect results every time.
Yogurt is a staple in most households, enjoyed at breakfast, lunch, dinner, or even as a quick snack. Loved by both kids and adults, yogurt is not just delicious but also packed with probiotics, which promote gut health and overall well-being.
Why Make Yogurt at Home?
I love homemade food because it gives me complete control over the ingredients. However, making yogurt at home was always a struggle—sometimes it turned out too runny, and other times it failed to set properly, especially due to varying weather conditions.
That’s when I discovered a foolproof method: using an Instant Pot or any all-in-one pressure cooker with a yogurt setting!! After experimenting a few times, I finally perfected the process. But there was still one problem—I disliked the cleanup that came with making yogurt in the large inner pot.
The Game-Changer: Pot-in-Pot (PIP) Method
To make the process more efficient (and mess-free!), I started using the pot-in-pot (PIP) technique. Instead of making yogurt directly in the Instant Pot’s inner pot, I use a heat-resistant bowl placed on a trivet inside the Instant Pot.
Here’s why this method is a game-changer:
Less Mess – No more scrubbing the large inner pot!
Easy Handling – The yogurt sets in the same bowl you’ll store it in.
Efficient from Incubation to Fridge – The yogurt incubates and chills in the same bowl, eliminating extra transfers and dishes.
Secret Tip for Thicker Yogurt
Want thick, creamy yogurt like store-bought versions? The trick is adding milk powder! Before heating the milk, mix in 2-3 tablespoons of milk powder per liter of milk. This increases the protein content, helping the yogurt set firmer and creamier.

How It Works:
1️⃣ Boil the Milk – Heat the milk in a heat-resistant bowl placed inside the Instant Pot.
2️⃣ Cool It Down – Let the milk cool to the ideal temperature for culturing.
3️⃣ Add the Culture – Mix in the yogurt starter.
4️⃣ Incubate – Set the Instant Pot to yogurt mode and let it work its magic.
5️⃣ Chill & Enjoy – Transfer the bowl directly to the fridge—no extra dishes needed!
See recipe card for detailed instructions.
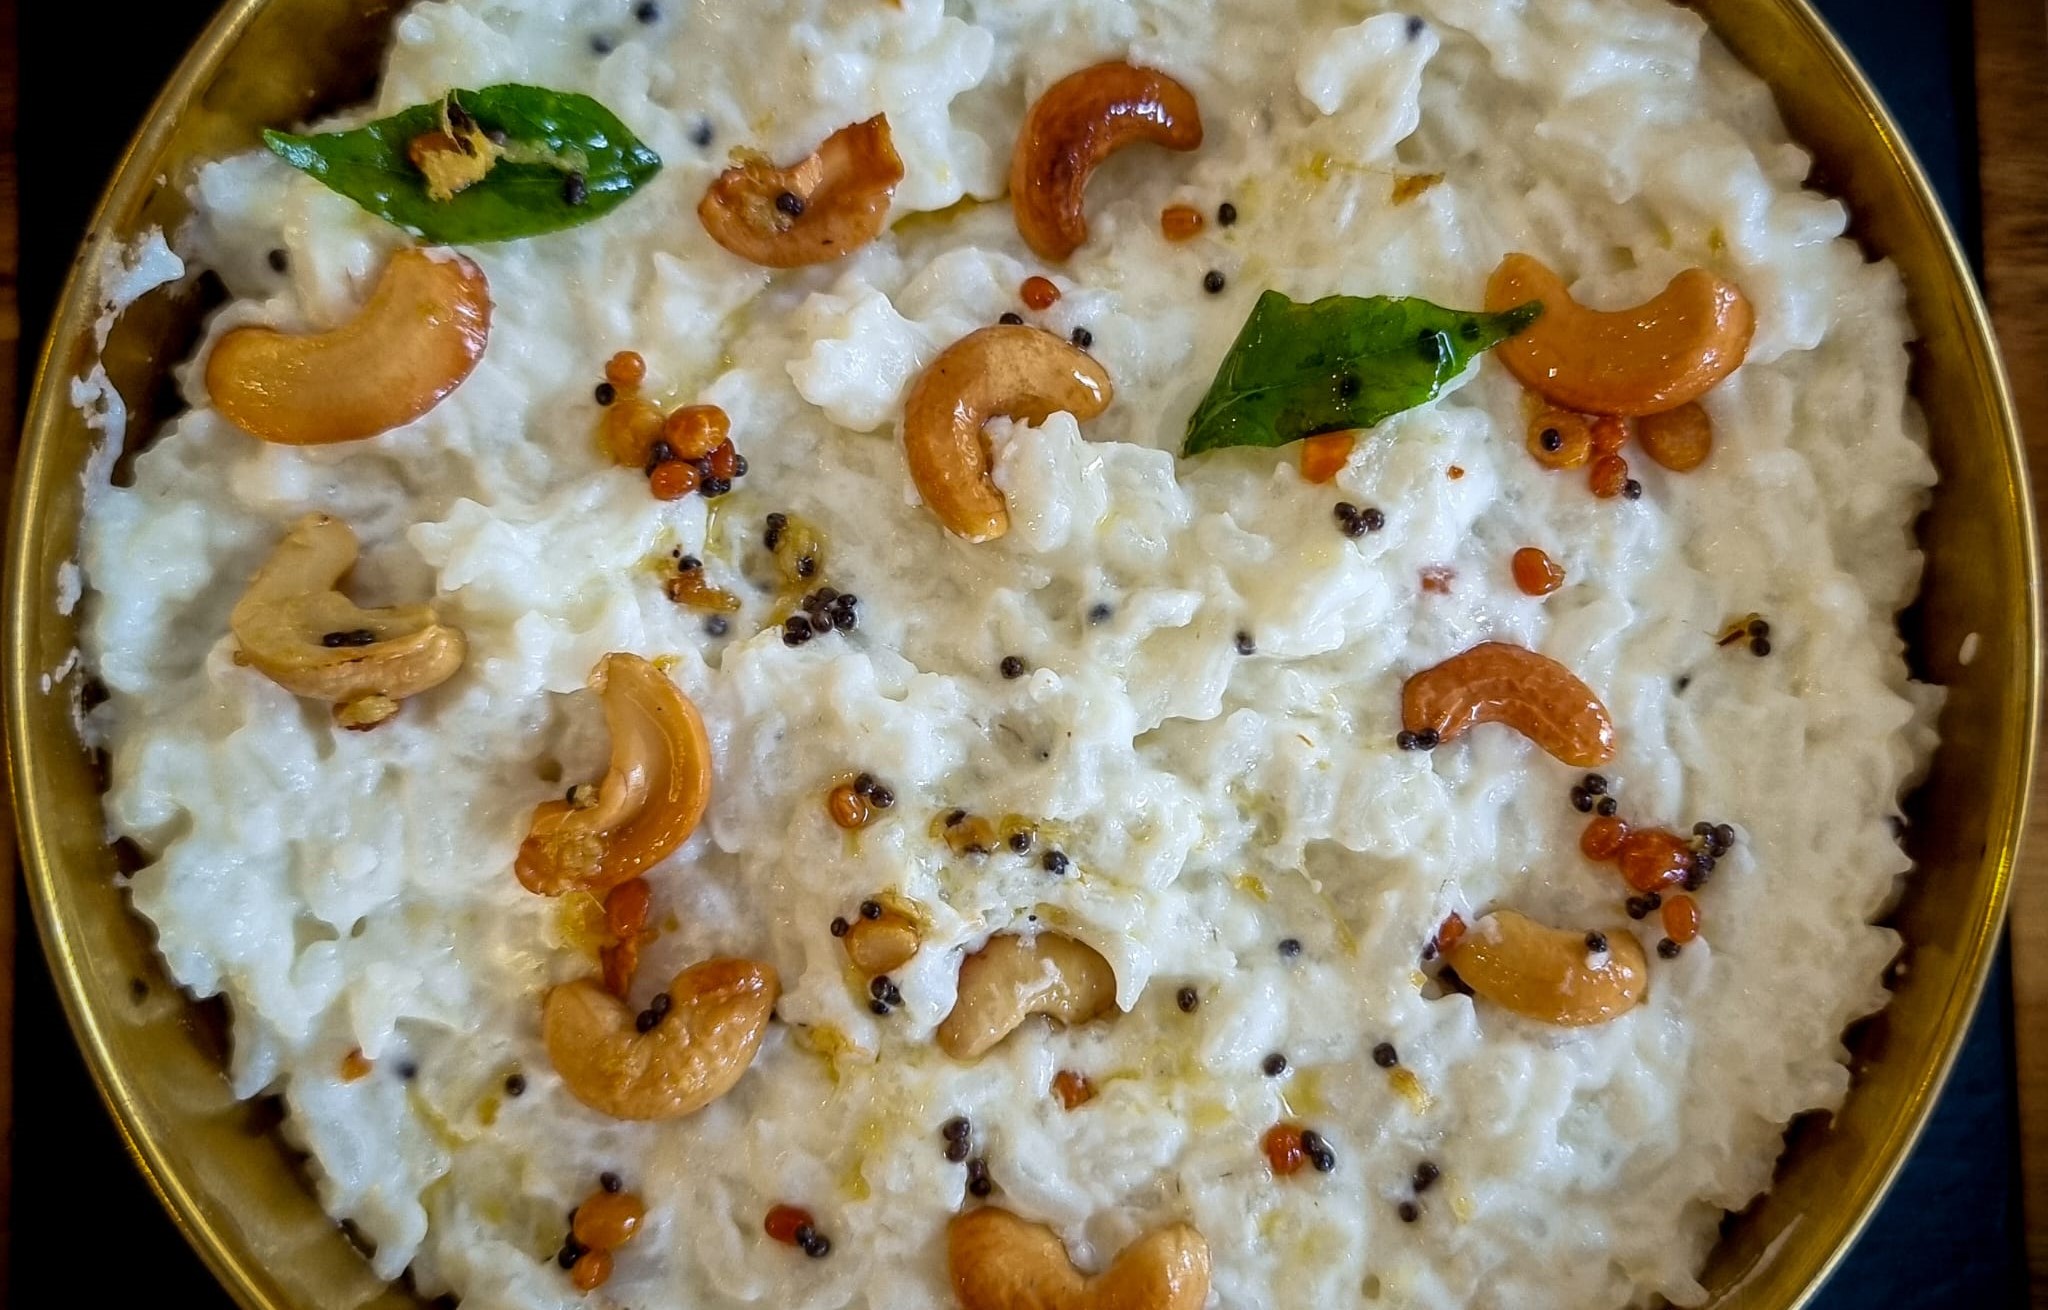
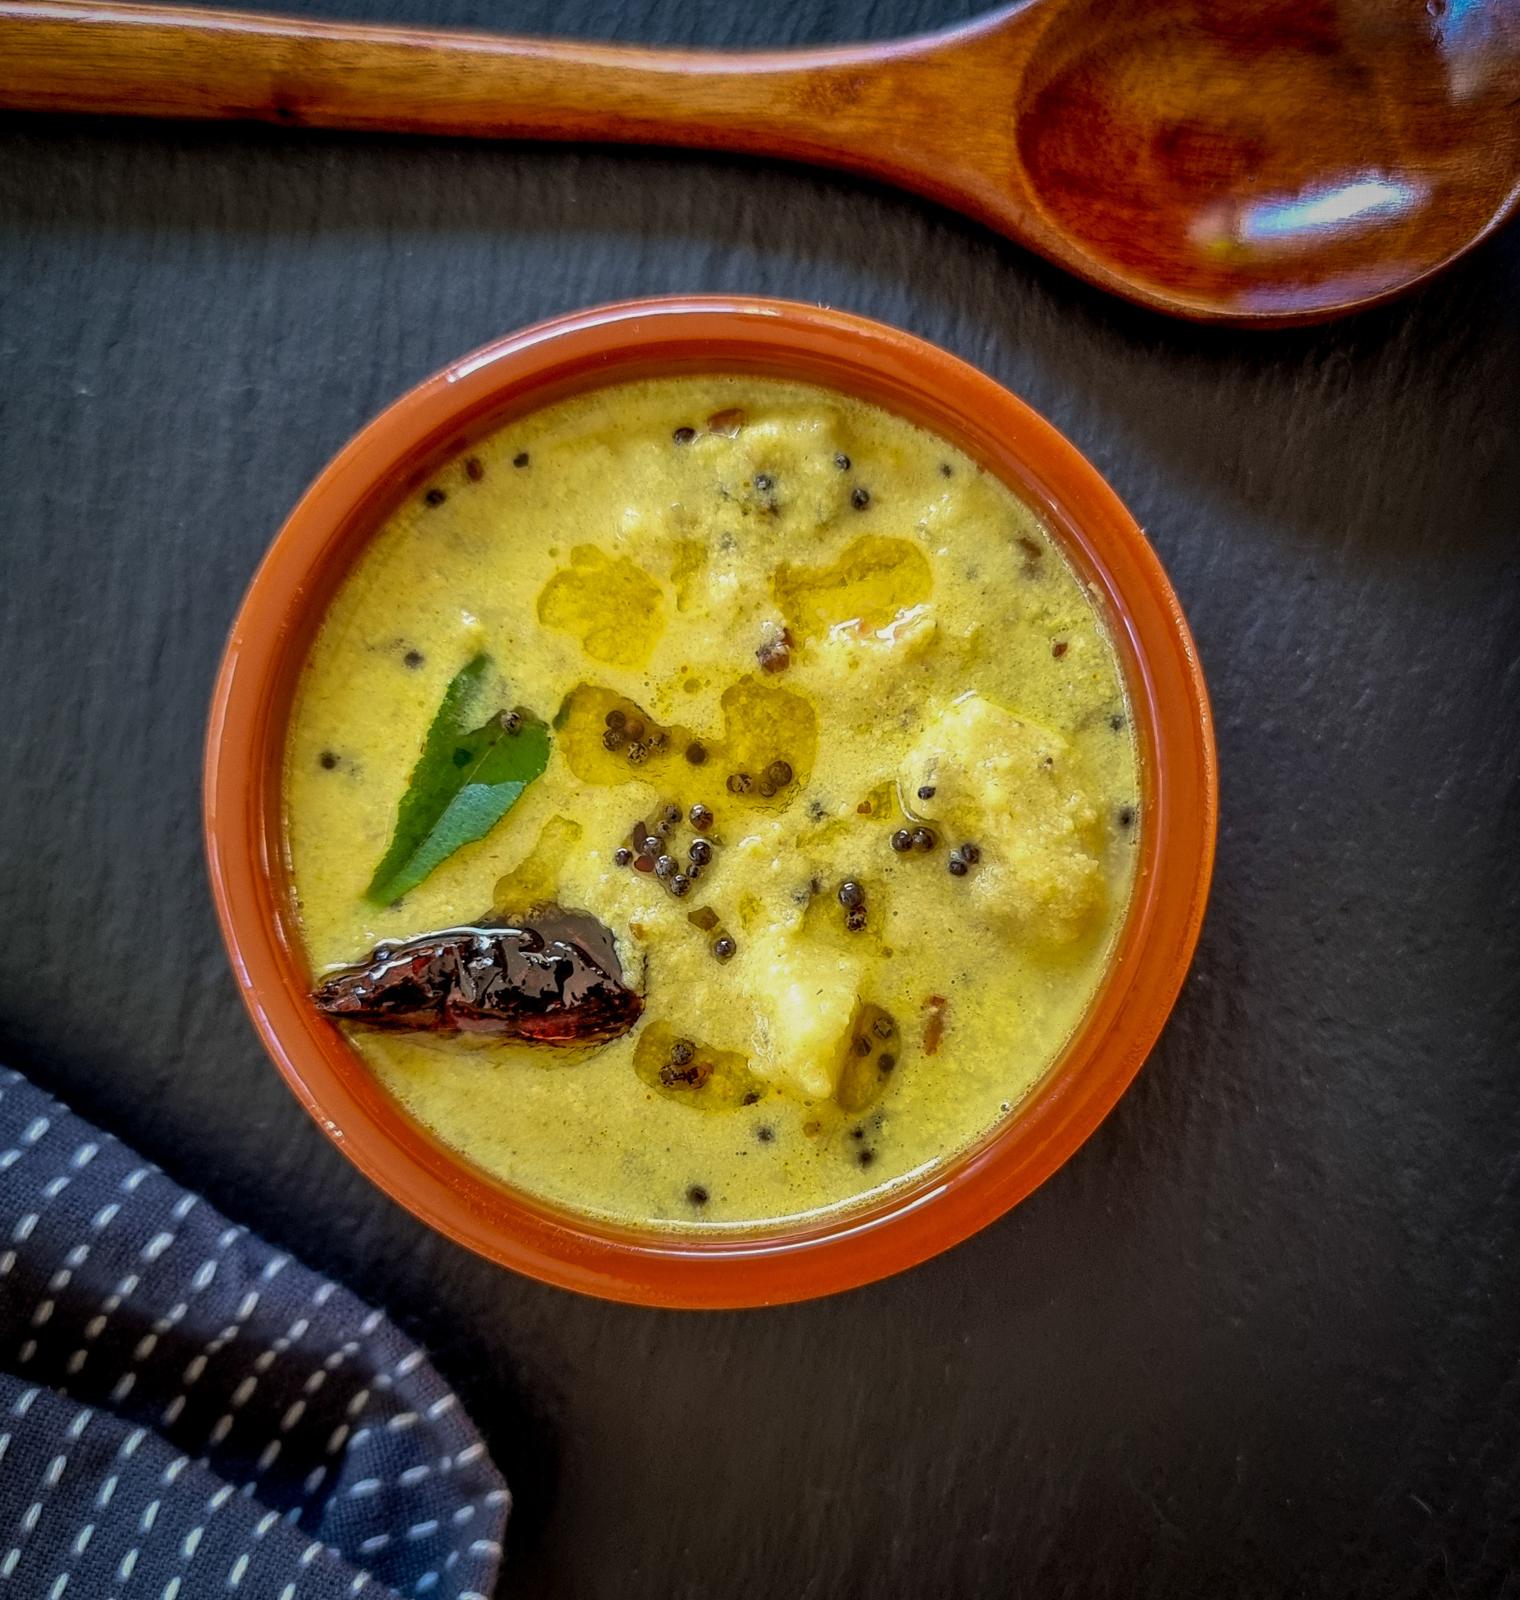
With this hassle-free method, making yogurt at home has never been easier. No more guesswork, no more mess—just perfect, creamy homemade yogurt every time! You can enjoy it with some granola, or make yummy dishes like curd rice, curries, or make a drink – sambharam.
Ready to give it a try? Let’s get started! 🍶✨

Homemade Yogurt
Lets see how to make perfect thick and set yogurt using an Instant pot
Ingredients
- 4 cups full cream milk
- 2 tbsp milk powder
- 1 tbsp yogurt culture (use plain, unsweetened yogurt with live active cultures, or a store-bought yogurt starter)
Instructions
- Boil the Milk: In a steel or heat-resistant glass bowl that fits into the Instant Pot, add 1 litre of milk. Now, into the Instant Pot steel container, pour 1 cup of water. Place a trivet, and on top of the trivet, place your bowl containing the milk. Press the yogurt setting twice to turn on the boil mode. Once the milk is boiled, the Instant Pot screen will reset to yogurt mode. This takes 8-10 minutes. Allow the milk to cool down to 110°F/43°C.
- Add Milk Powder (Optional):
If you want your yogurt to be extra creamy and thick, mix in 2 tbsp of milk powder when the milk cools down. This step is optional, but it makes a noticeable difference in texture. Stir it well to dissolve. - Add the Yogurt Culture:
Take 1 tbsp of yogurt culture and mix it with a small amount of warm milk from your saucepan (about ¼ cup). Stir gently to dissolve, and then pour this mixture back into the entire batch of milk. Stir well to ensure that the culture is evenly distributed. - Activate Yogurt Mode:
Coven the bowl, close the Instant Pot’s lid and select the “Yogurt” function on your Instant Pot. Set the timer for 8 hours to allow the yogurt to set. The time can vary depending on the consistency and tartness you prefer, but 8 hours is a good starting point for creamy yogurt. If you are in a hot or tropical climate leave it on countertop to set. - Chill and Store:
Once the yogurt is done, carefully remove the glass bowl from the Instant Pot. Allow it to cool for a few minutes before placing it in the refrigerator to chill. The yogurt can be transferred to the fridge immediately, as it’s already in a glass bowl with a lid, making it easier to store.
Recommended Products
As an Amazon Associate and member of other affiliate programs, I earn from qualifying purchases.

Frequently Asked Questions (FAQs)
1. What type of milk should I use?
You can use whole milk, 2% milk, or even non-dairy alternatives like coconut or almond milk. Whole milk gives the creamiest results.
2. Do I need a yogurt starter?
Yes! You need a spoonful of plain yogurt with active cultures or a commercial yogurt starter. Once you make your first batch, you can use a small portion of it as a starter for the next one.
3. How long should I incubate the yogurt?
Most yogurts set well in 8-12 hours. A longer incubation (10-12 hours) results in a tangier taste.
4. How Can I Gauge the Temperature of Milk Without a Thermometer?
Dip your clean pinky finger into the milk. If you can comfortably keep it there for 5 seconds, it’s at the right temperature (around 110°F/43°C) to add the yogurt starter.
5. Why is my yogurt runny?
Runny yogurt could be due to:
- Low incubation temperature
- Using ultra-pasteurized milk
- Not enough starter culture
- Short incubation time
- Higher temperature of milk when adding the culture leading to the culture getting killed or dormant
6. Can I make Greek yogurt using this method?
Yes! After making yogurt, strain it through a cheesecloth or fine-mesh sieve for a few hours to remove excess whey, resulting in thick Greek-style yogurt.
7. How long does homemade yogurt last?
Store it in an airtight container in the refrigerator for up to 2 weeks.
8. Can I add flavors to my homemade yogurt?
Absolutely! Once set, mix in honey, vanilla, fruit purées, or spices to enhance the flavor.
Ready to Try It?
Now that you know the foolproof, mess-free way to make yogurt at home, why not give it a try? If you do, let me know how it turned out in the comments! Tag me on @platefullofyumm with your homemade yogurt pictures—I’d love to see them!
💡 Have any questions or tips of your own? Drop them below! Let’s make homemade yogurt easier and better together! 🥄✨